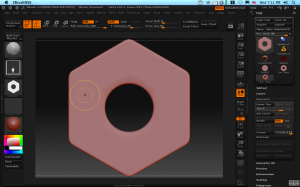
Zbrush makes it easy to quickly create an alpha from geometry, which in turn can be used to detail objects. Let’s take the hex nut from the previous exercise. By turning SMT on in the Geometry Subpallet art level 4 and subdividing a bit more I’ve rounded the edges to give me a nice bevel. I just position it so I’m looking straight down on it, (use shift-drag outside the object to snap the view to the nearest orthogonal position.) To make an Alpha from this shape, it’s just as easy as going to alpha pallet and clicking “GrabDoc”. A new alpha is available on your alpha pallet, starting “ZGRAB” like magic!
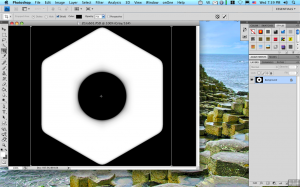
You’re not quite done yet–ZB prefers square alphas to avoid distortion and because I was lazy, the canvas was actually 800 x 600. It’s a quick fix in an image editor, so export the alpha from the image pallet, fire up photoshop and crop to 512×512.
Name the file it something suitable, reload it into ZB, and now you sculpt with it using any brush you like (I prefer the Clay or Layer brushes for example.)
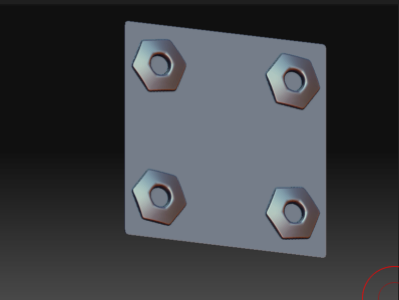
Turn on symmetry and with one stroke, I have detailing on a plate.


One thought on “Zbrush Mechanical Part 5, Quick Alpha From Geometry”
Comments are closed.